Replacing the drum unit in your Brother laser printer is a straightforward maintenance task that ensures your documents remain crisp, clear, and free of streaks. While your printer will usually prompt you with a “Replace Drum” message, knowing the correct procedure—and how to reset the internal counter—is key to a smooth transition.
Here is a professional guide on how to perform the replacement effectively.
Before you begin, ensure the printer is turned on. You will need to interact with the control panel immediately after the physical installation to clear the error message.
Important Note: Laser printers use heat to fuse toner to paper. If you have just been printing, allow the machine to cool down for at least 10 minutes before reaching inside.
Open the Front Cover: Lower the front panel of the printer to reveal the internal assembly.
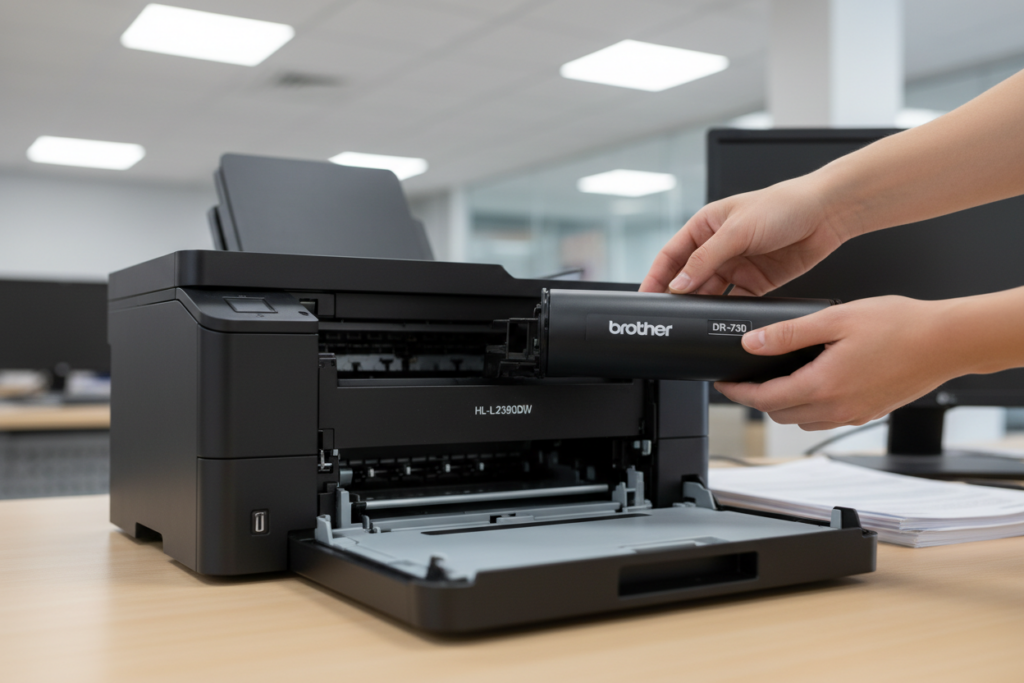
Extract the Assembly: Grasp the handle of the drum unit and pull it toward you until it stops, then lift it slightly to remove the entire assembly (the drum and toner cartridge together) from the machine.
Separate the Toner: Push down the small colored lock lever (usually green or blue) on the side of the assembly. While holding the lever down, lift the toner cartridge out of the old drum unit.
Prepare the New Unit: Remove the new Brother drum unit from its protective packaging.
Insert the Toner: Slide your existing toner cartridge into the new drum unit until you hear it click into place. If installed correctly, the lock lever will lift automatically.
Clean the Corona Wire: Before sliding the assembly back in, slide the small tab (usually green) across the top of the drum unit from left to right several times. This cleans the primary corona wire. Crucial: Always return the tab to the “Home” position (indicated by a small arrow) to avoid a black vertical stripe on your prints.
Reinsert the Assembly: Slide the new drum and toner assembly back into the printer. Do not close the front cover yet.
This is the most common step users miss. The printer does not “know” you have installed a new drum unless you manually reset the counter. The process varies slightly depending on your model:
With the front cover still open, press and hold OK or Clear for a few seconds.
The display will ask “Replace Drum?”
Press 1 to confirm the reset.
Close the front cover.
Press Cancel (X) to clear the error.
Navigate to Settings > Machine Info > Parts Life.
Press and hold Drum or Drum Life until the display message changes.
Press Yes to reset.
Once the counter is reset, close the front cover. The printer will go through a brief warm-up cycle. We recommend printing a “Test Page” or a “Printer Settings” report from the menu to ensure the drum is seated correctly and the print quality is optimal.
If your prints are faint, you likely need Toner. If your prints have consistent spots, lines, or “ghosting” every few centimeters, it is time to replace the Drum. Keeping a spare drum on hand ensures your office stays productive without unexpected downtime.